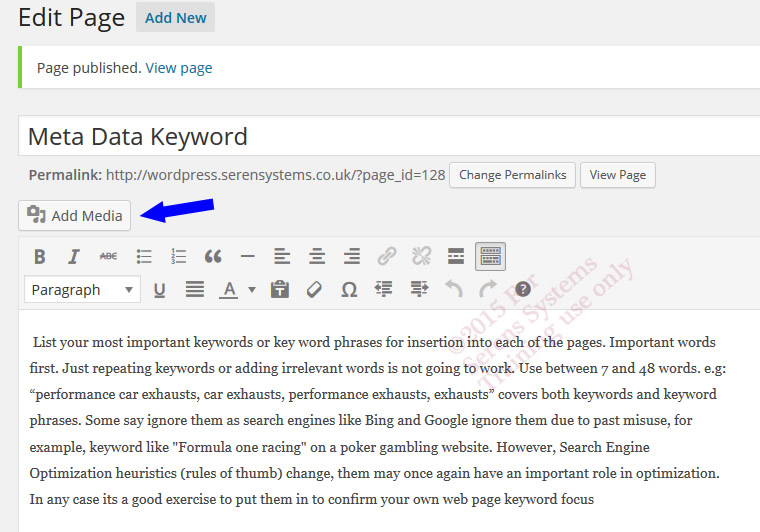
Place the insertion point / click cursor where you’d like the image and then click the “Add media” button:
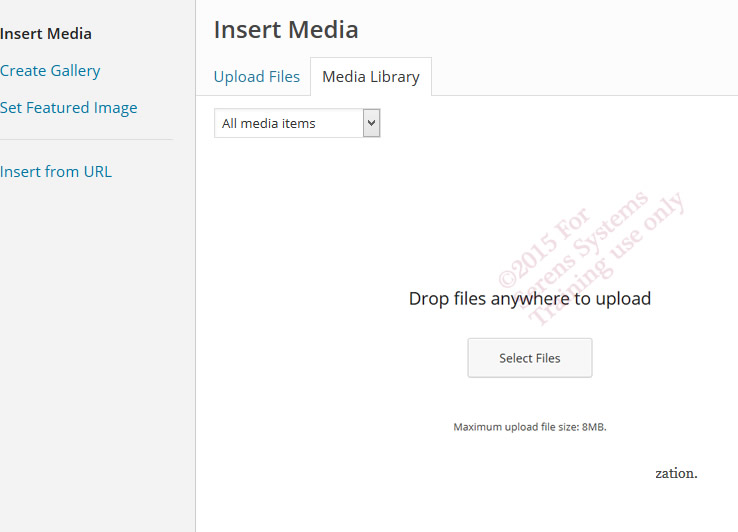
From the next screen click on “Select files.” If you do not have the supplied images simply use you own. Images are inserted into the media library the same way you inserted the header image in the Customized lesson earlier.
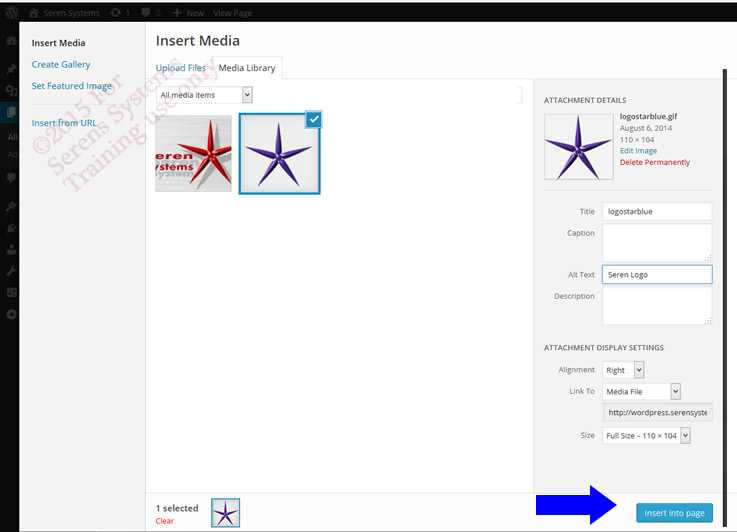
The windows file browser pops up and select the folder and images you want (The windows trick of Ctrl and Alt/click work for multi file selection). Here two images were loaded. The second one has been selected (ticked) by clicking on it. Note the properties panel to the right where you can put in “Alt Text” which is useful for SEO. You can also set alignment left/centre/right here too. Click on the insert into page button (blue arrow), the image then appears in the media library
Media Library
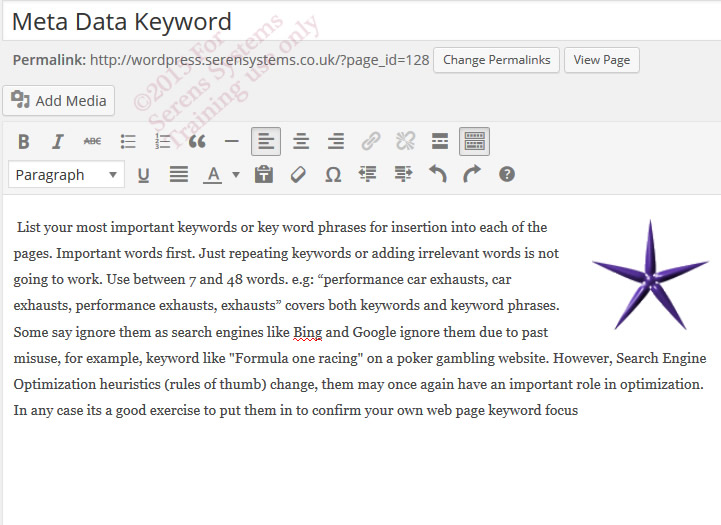
Here is the image, inserted where the insertion/mouse pointer was located:
Moving the Images
You can click on the image and use the image tool bar’s left, centre and right icons to position them horizontally as well as control the text flow around them. The icons used are self-explanatory.
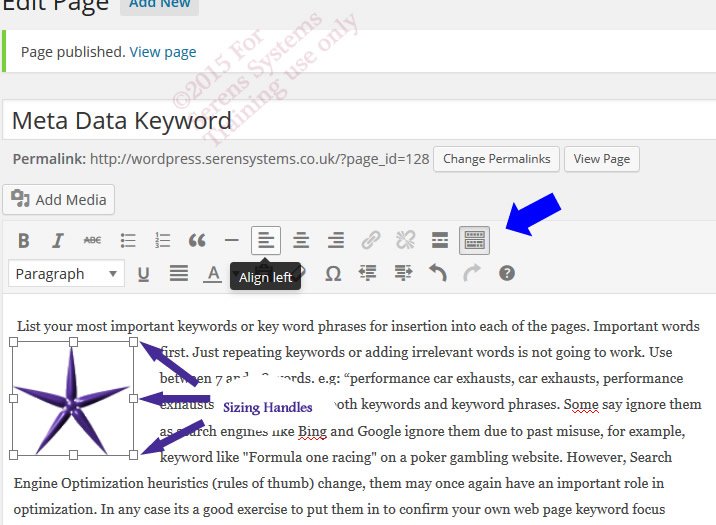
![]() Clicking on an image produces the sizing handles (little white boxes in the corners below) which you can drag to resize the image. It’s always best to have them the right size before you load them up. Note the align left icon, this was used to position the image to the left seen below. Text flow is sometimes a little tricky. If you only have one layer of icons click the icon indicated by the fat blue arrow below.
Clicking on an image produces the sizing handles (little white boxes in the corners below) which you can drag to resize the image. It’s always best to have them the right size before you load them up. Note the align left icon, this was used to position the image to the left seen below. Text flow is sometimes a little tricky. If you only have one layer of icons click the icon indicated by the fat blue arrow below.
. If you click on the image you will get the following image editing icons:
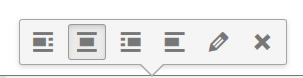
- The first four are textflow and again show clearly how the text will flow.
- The X will delete the image
- The pencil pulls up the following edit box.
Image Details box
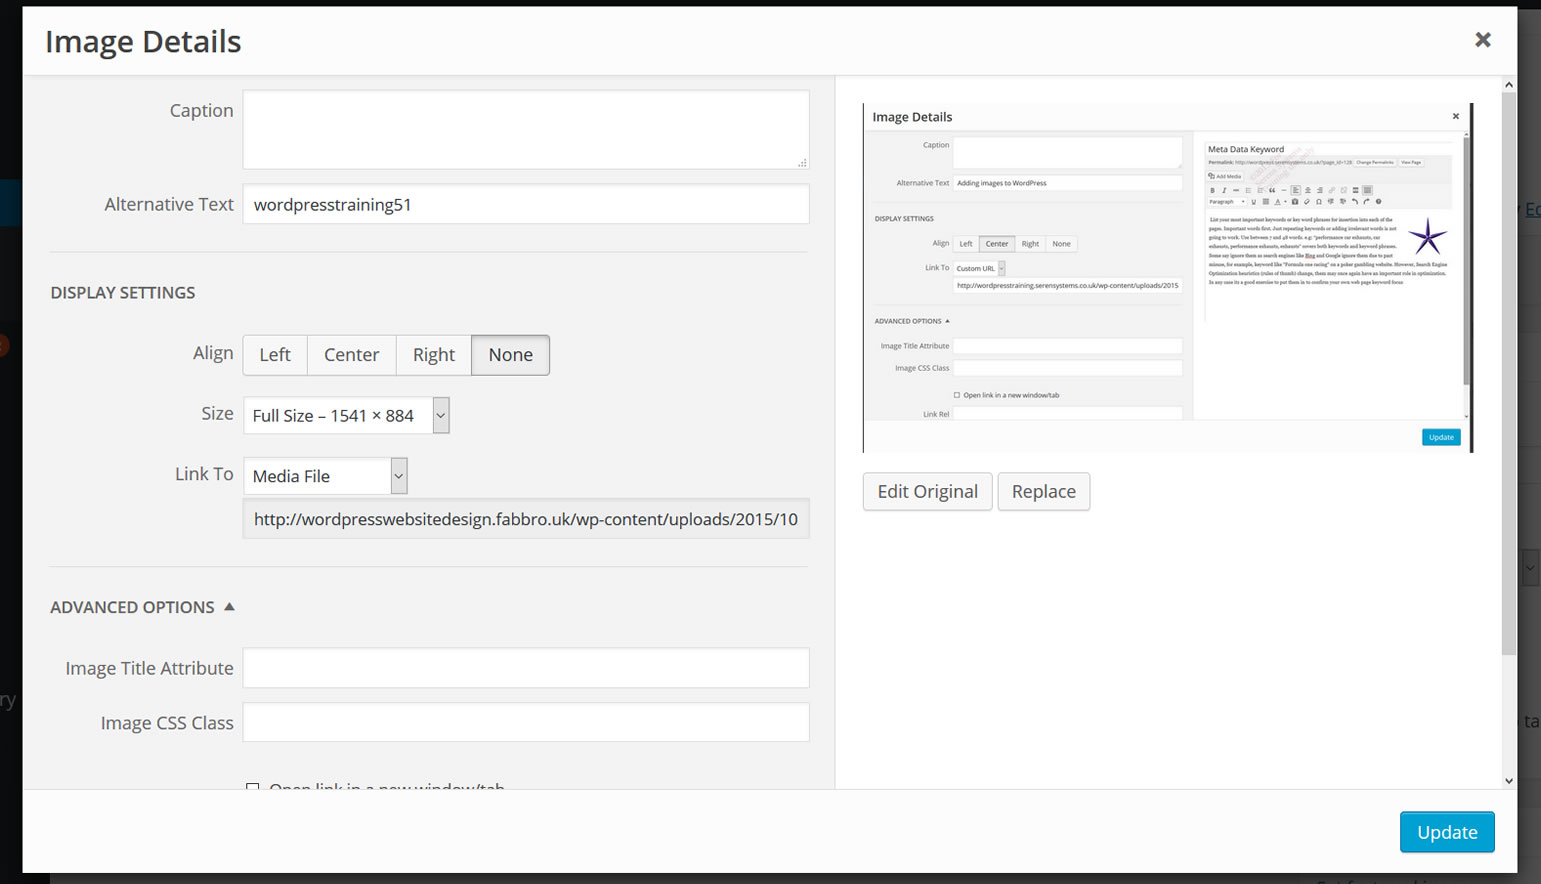
The alternative text box is very useful for SEO, make sure you have keywords for this page inserted. Its use was originally for viewers with visual impairment using a speech synthesiser.
Caption allows you to add some text and a box around the picture.
Do not forget to press “Update” button when leaving the “Image Details” screen.
Editing Images
To edit your images a simple image editor is included and can be access via using one of these methods:
- The image editing box (see above) and clicking on the ‘edit original’ button
- The main menu ‘Media’ option. Clicking on this option will take you to the media library that you have seen before when inserting a new image. Simply click on the image you want to edit and then click on the edit button.
You will then see the following screen.

Here you can carry out image editing such as rotation, flipping, cropping and resizing of your image.
The icons above have been labelled 1-7
- Cropping: Simply place the mouse on the image, depress the left mouse button and drag across the image to select a portion of it. After releasing the familiar box with grab handles appear and you can resize the it. Once place in the correct place click on this icon to crop the image. You can use the Image Crop panel on the right once you have made your selection. This allows you to adjust it by entering the size in pixels. The minimum selection size is the thumbnail size. Crop Aspect Ratio section is the relationship between the width and height. You can preserve the aspect ratio by holding down the shift key while resizing your selection. Use the input box to specify the aspect ratio, for example set 1:1 (square), 4:3, 16:9.
- Will rotate images anti-clockwise
- Will rotate images clockwise
- Will flip the image across an horizontal line in the middle of the image
- Will flip the image across a vertical line in the middle of the image
- Undo what you just did
- Redo what you just undo’d
Do not forget to press “save” buttons when leaving the “Edit Image” screen.
You may find an image package such as Photoshop more useful where efficiency of download and image quality is an issue.
07 Adding WordPress Web pages Next 09 Creating a contact page
Prefer to be tutored?
Why not try one of our one to one sessions or timetabled courses? From £120 per day at your site…
Where?
WordPress training course can be supplied nationwide individually or as a bespoke course for a group.
South West Midlands: Worcester, Hereford, Tewksbury, Gloucester, Cheltenham, Lydney, Coleford, Newent, Ross-on-wye, Ledbury, Malvern, Evesham
South Wales: Abergavenny, Cwmbran, Pontypool, Caldicot, Penarth, Barry, Llantrisant, Caerphilly, Monmouth, Cardiff, Newport, Chepstow
South West: Exeter, Plymouth, Okehampton, Bodmin, Tavistock, Truro, Newton Abbot, Torquay, Totn